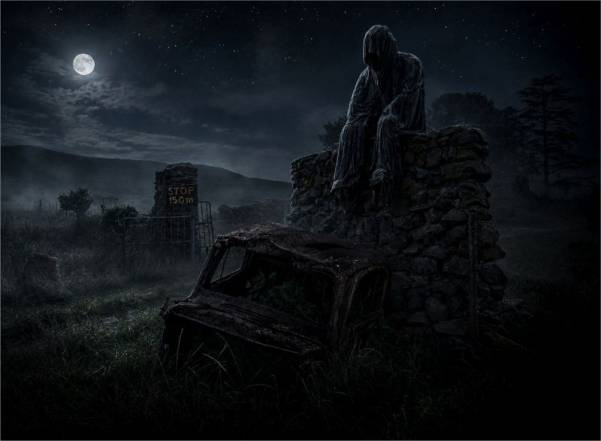
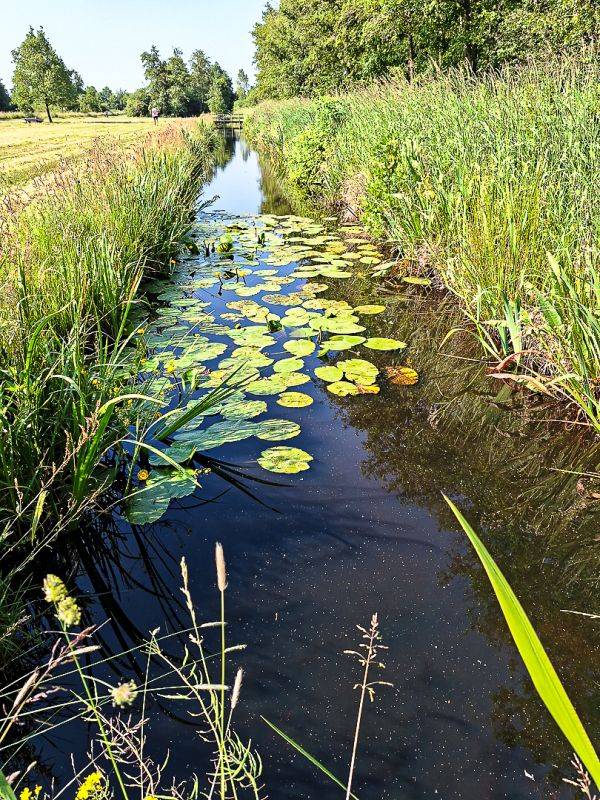
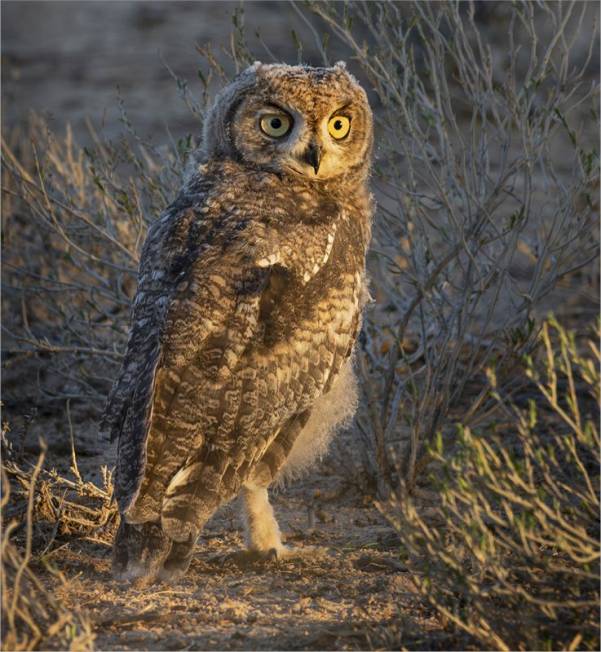
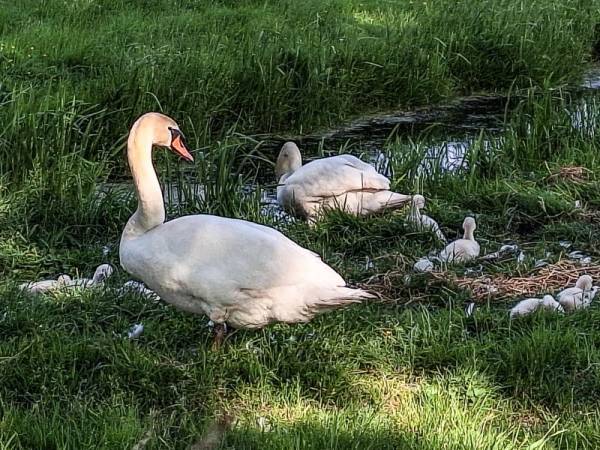
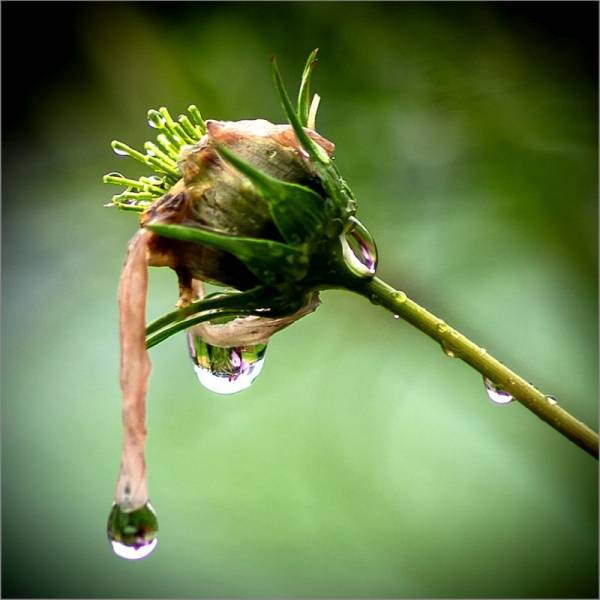
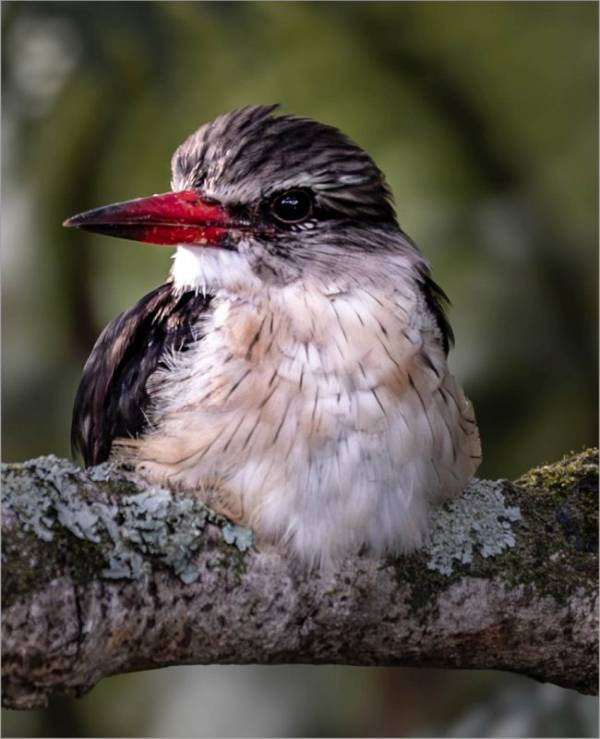
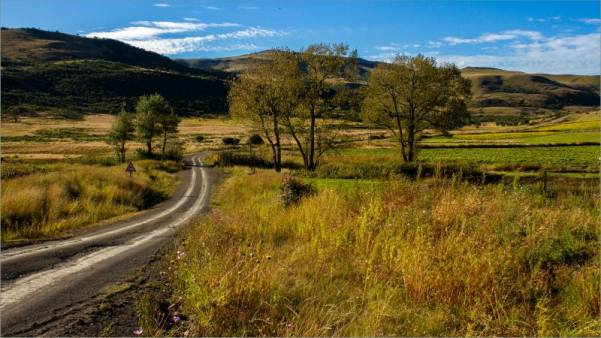
Best Junior Image & Set Subject of the Month

Dorita Dempers - May 2026
Best Junior Image of the Month

Dorita Dempers - May 2026
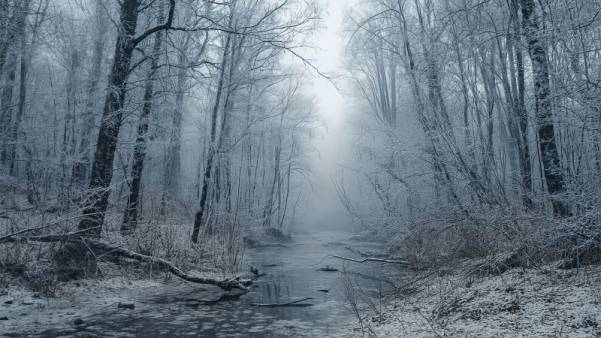
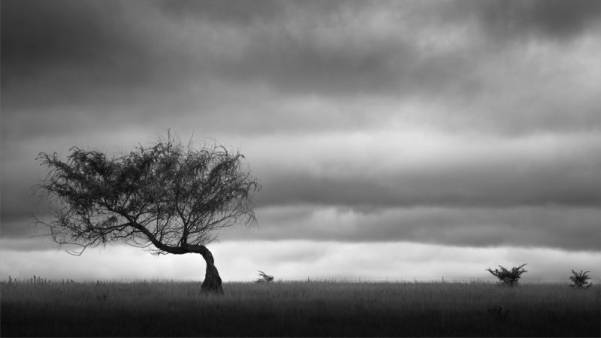
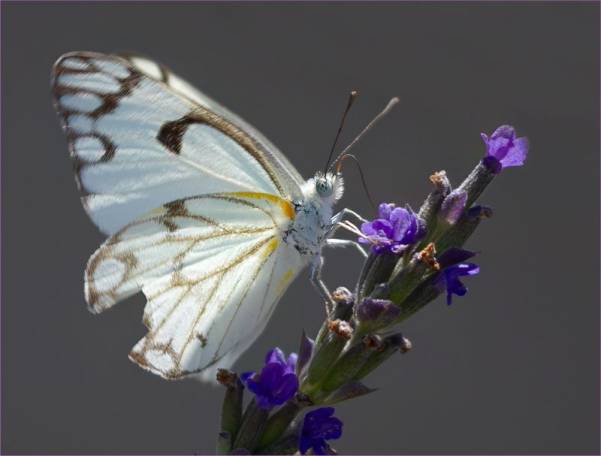
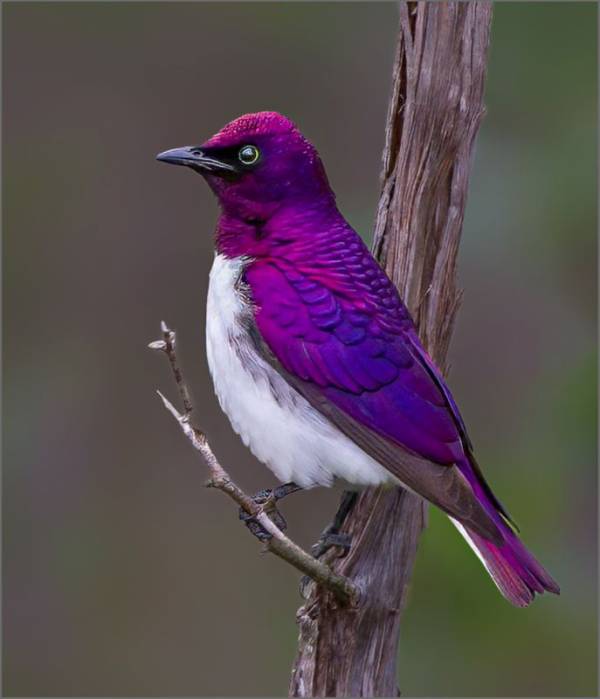
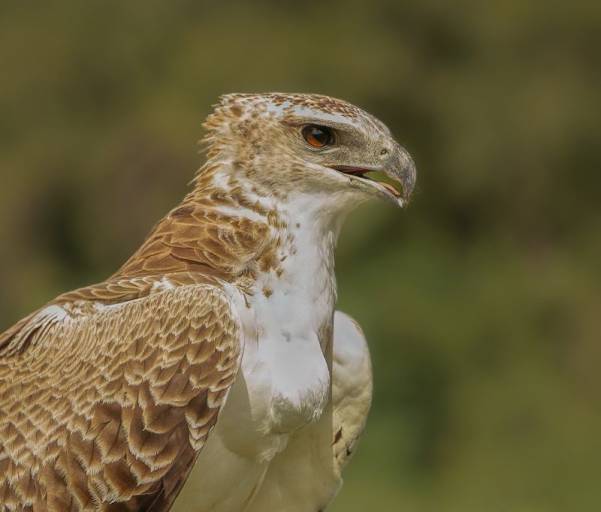
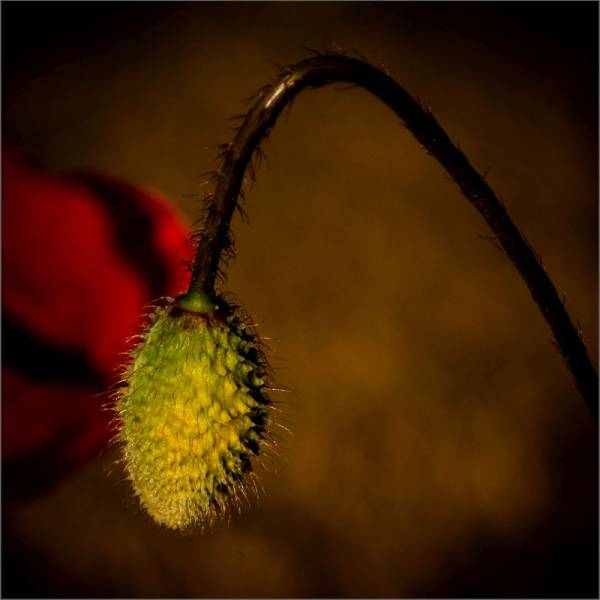
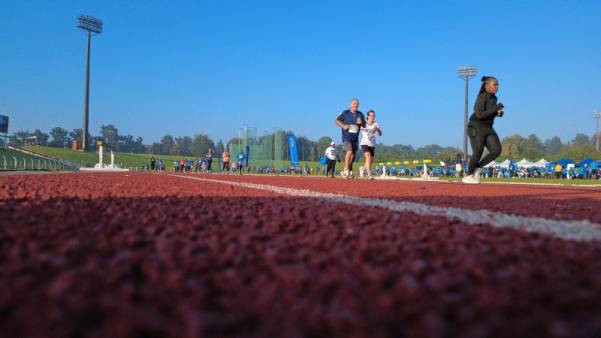
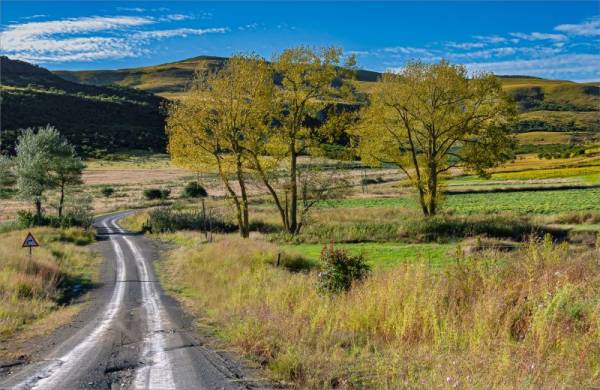
Best Intermediate Image of the Month

Eddie Reinecke - April 2026
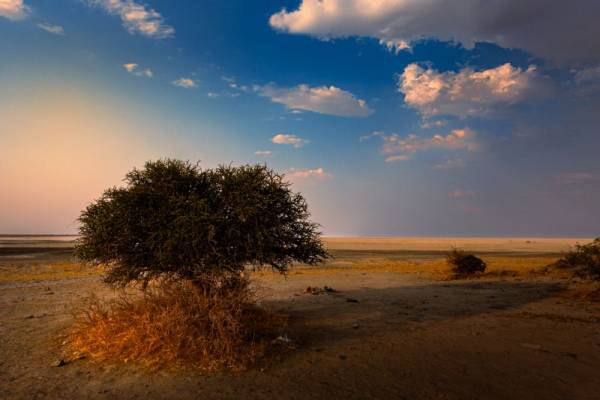
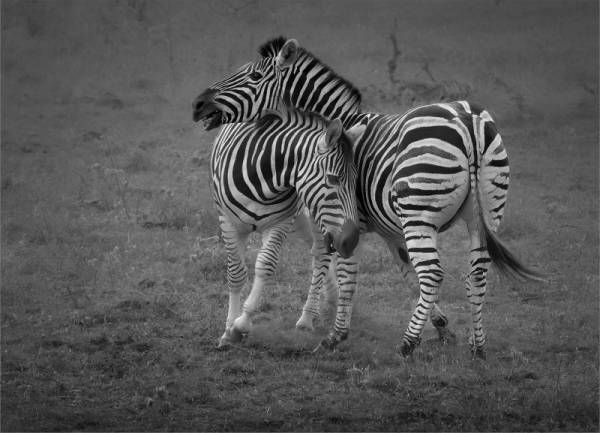
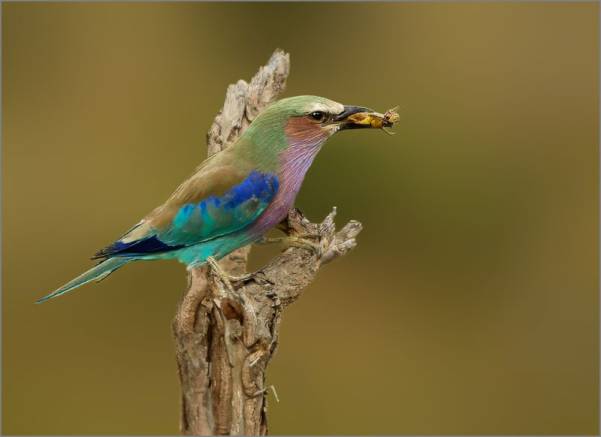
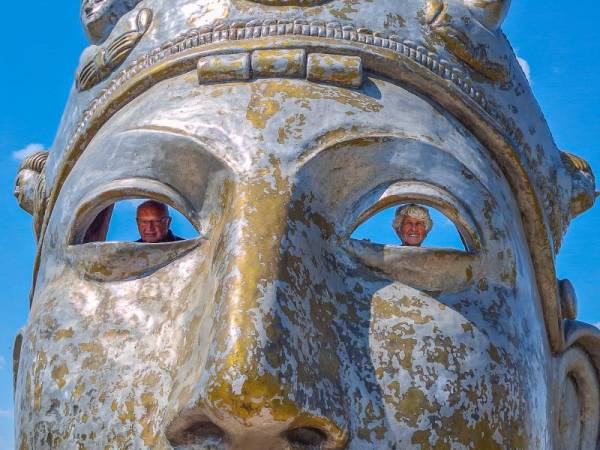
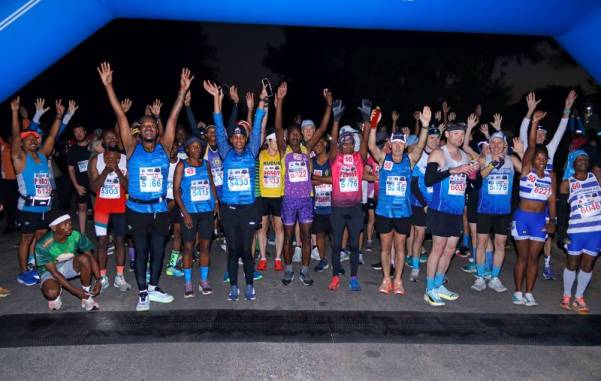
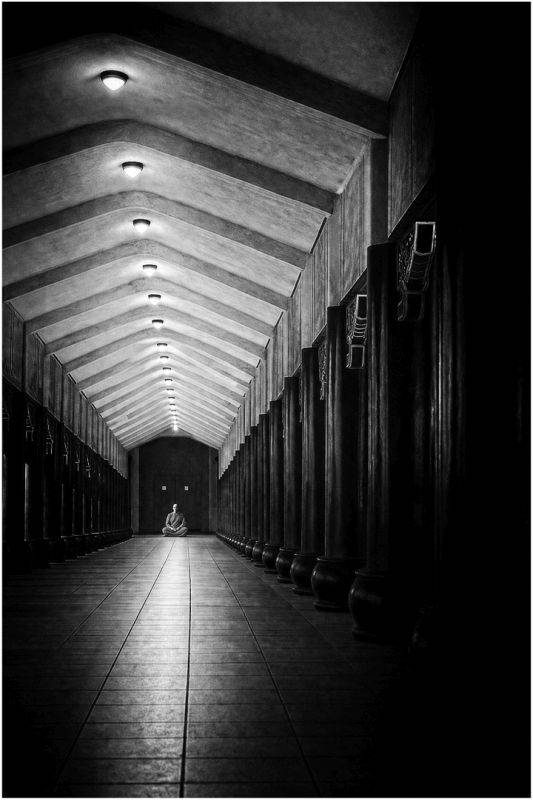
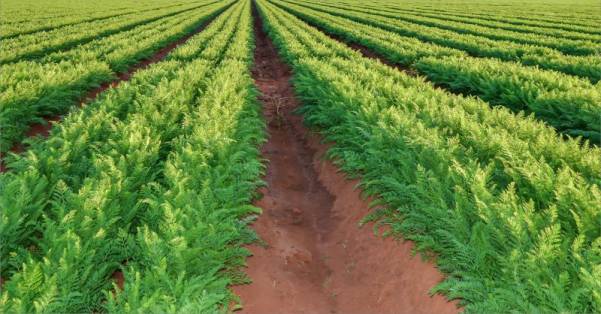
Best Intermediate Set Subject of the Month

Eddie Reinecke - April 2026
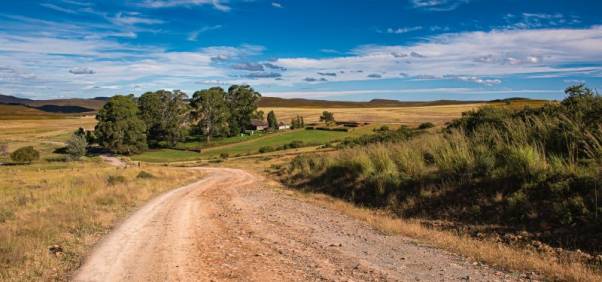
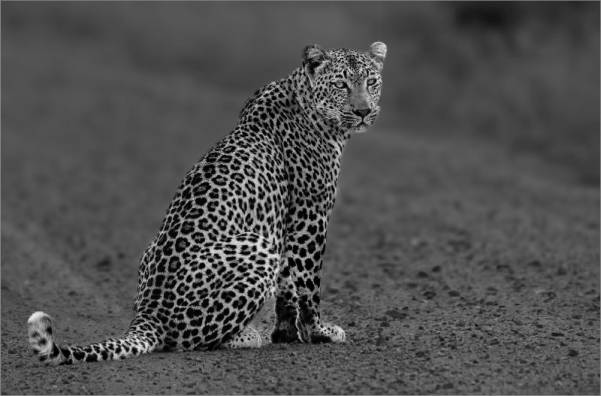
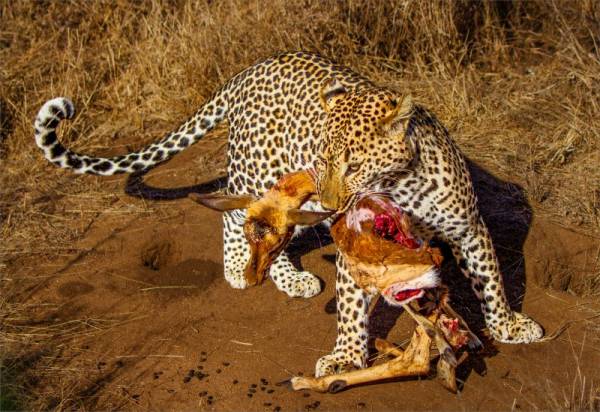
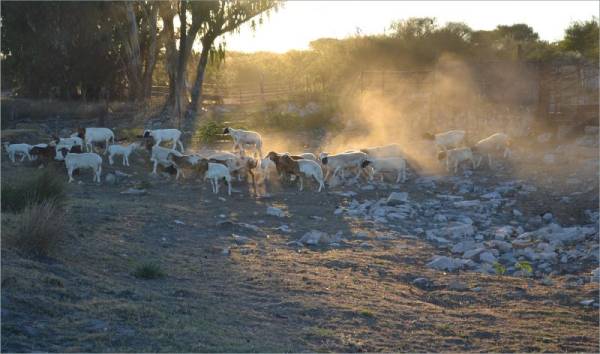
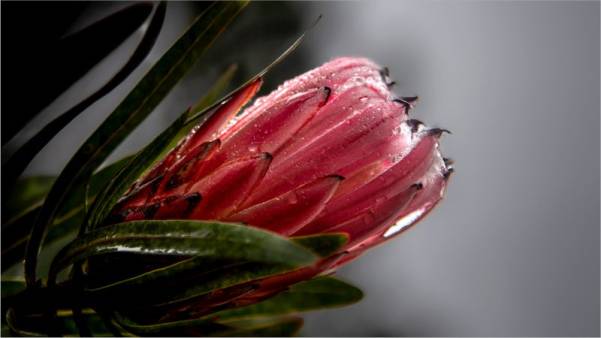
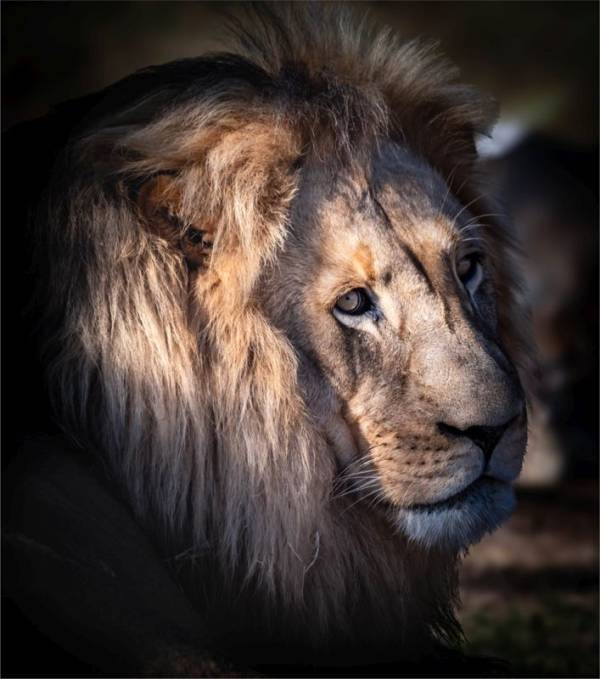
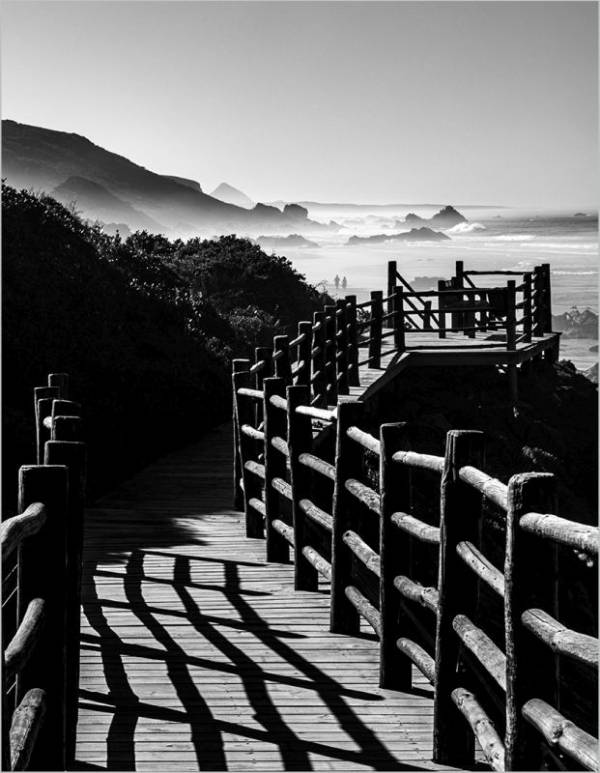
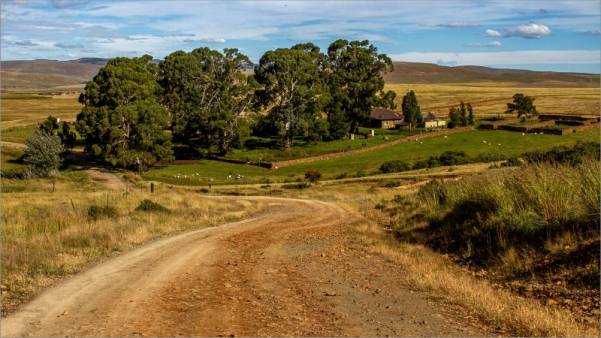
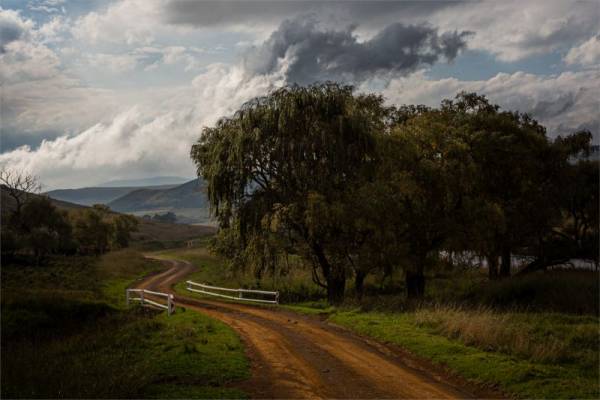
Best Senior Image of the Month

Willem van Zyl - May 2026
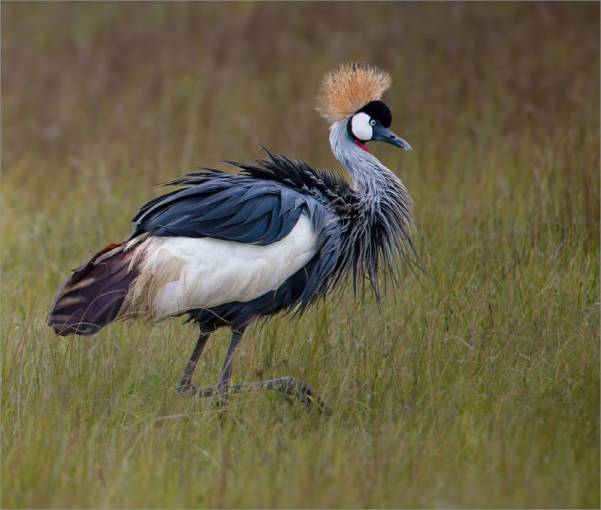
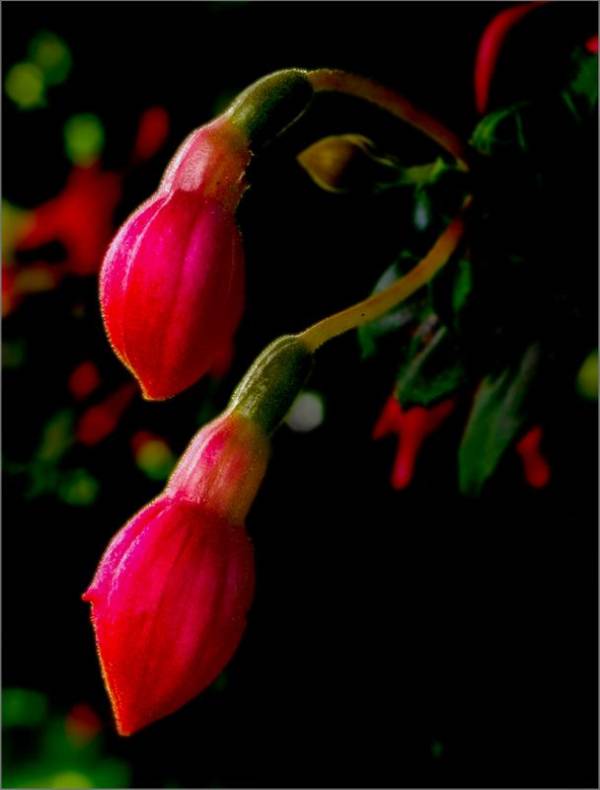
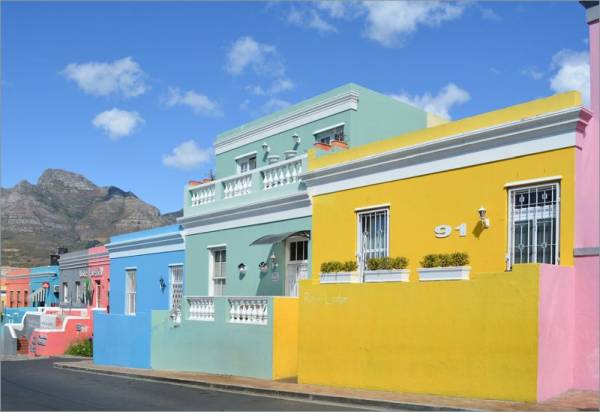
Best Senior Set Subject of the Month

Cobus Eksteen - May 2026
Next Club Meeting
Our next club meeting is on 23 July 2026 - At the GOLDEN AGE VILLAGE HALL 19H00
Set Subject for the month: Colour Orange - Manipulation Allowed
Enter via PhotoVault, entries must be in no later than Sunday 19 July 2026